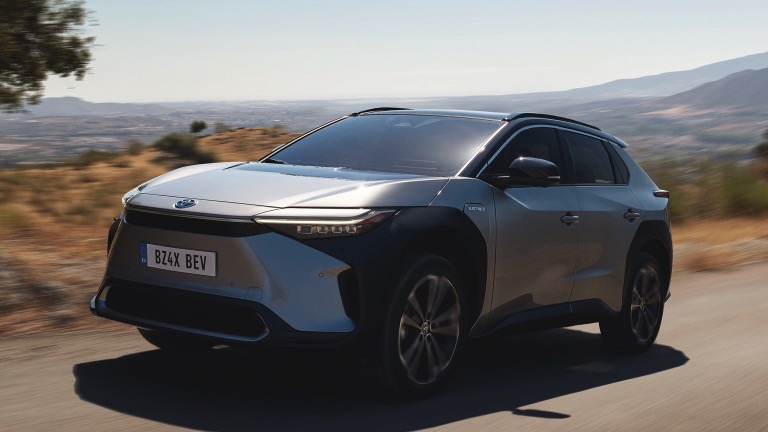
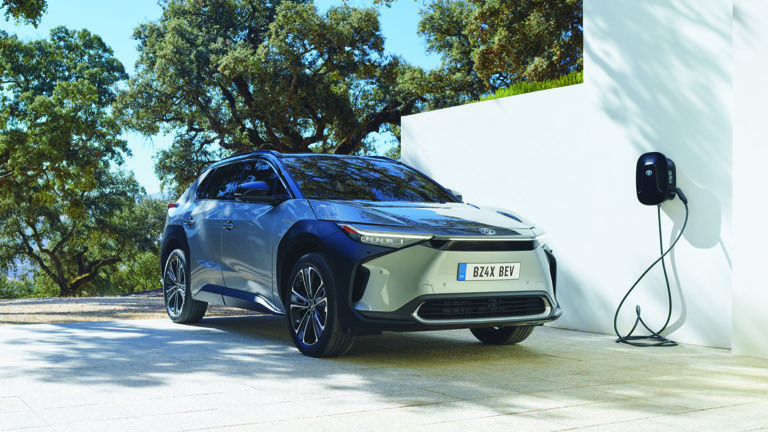
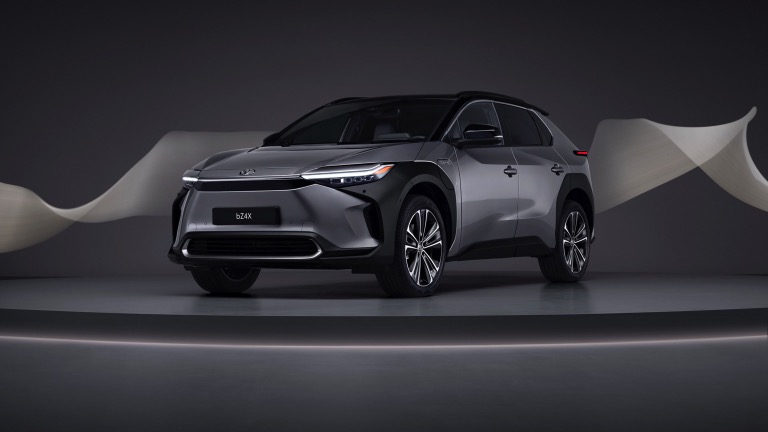
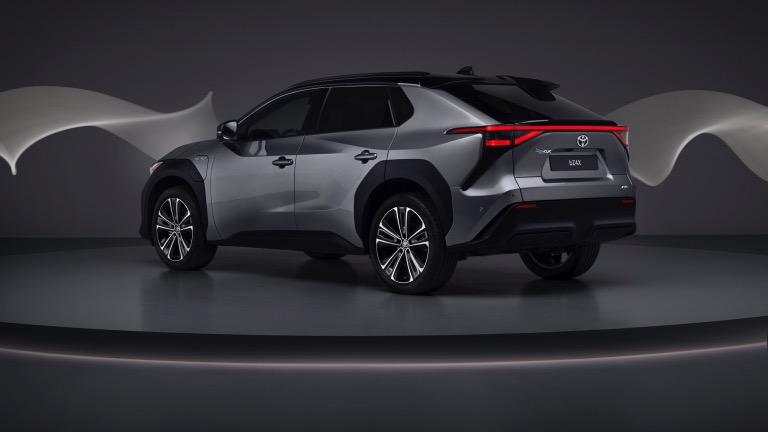
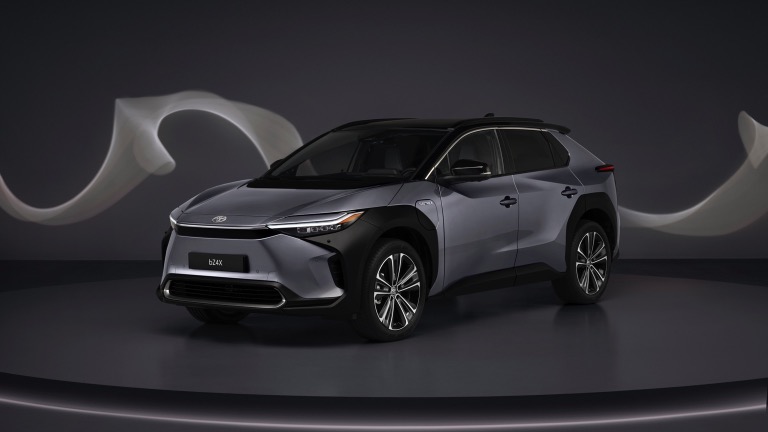
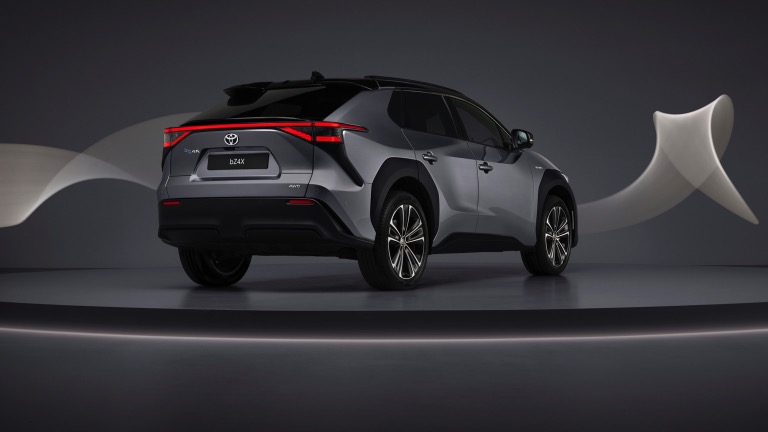
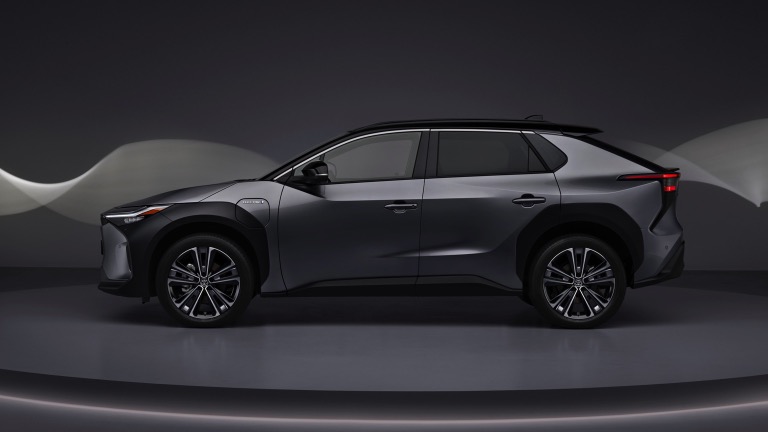
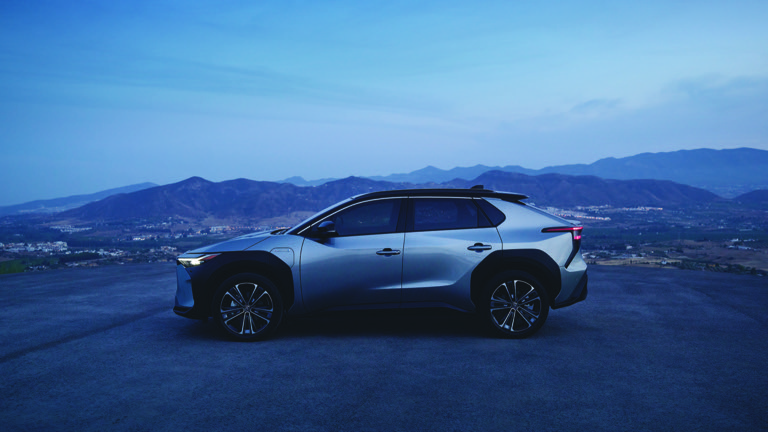
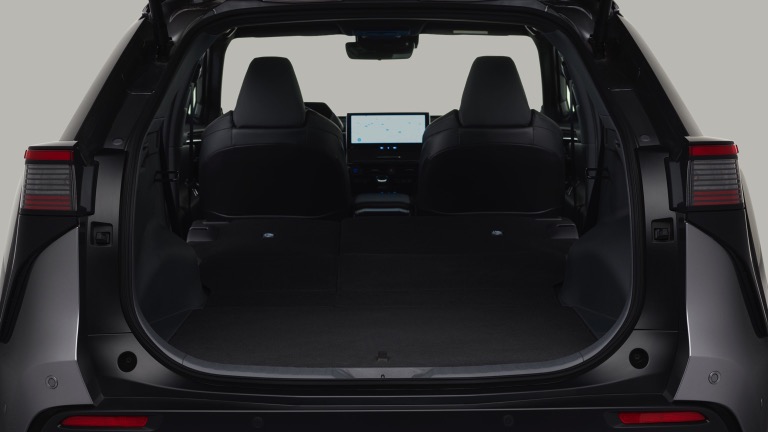
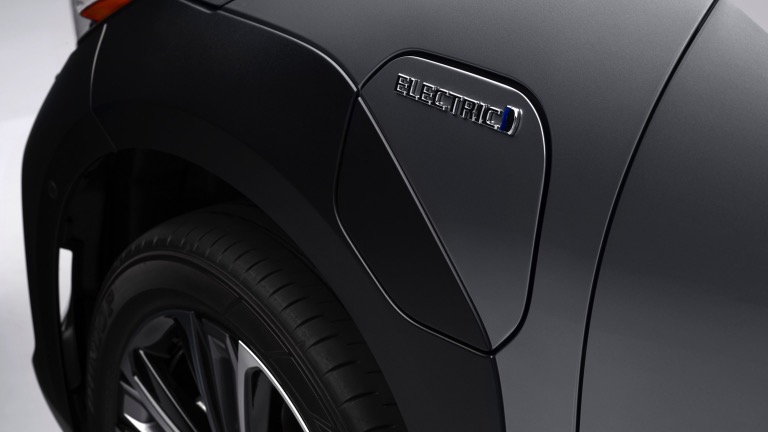
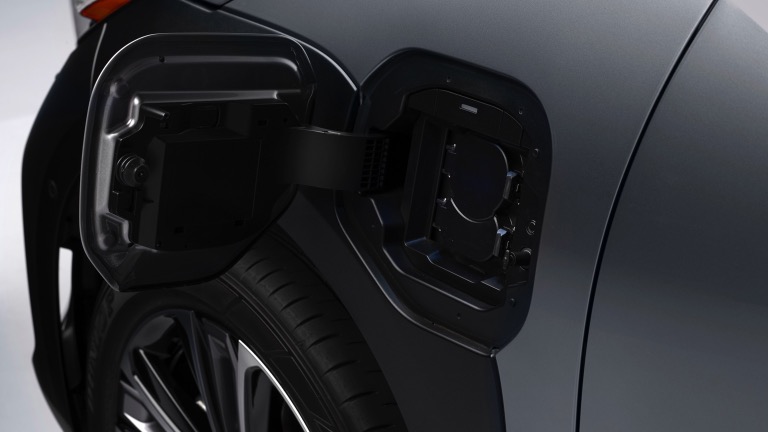
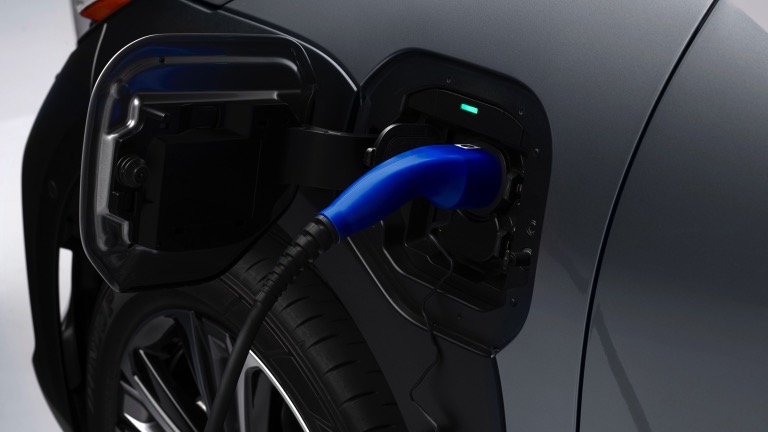
 Toyota bZ4X AWD 73.1 kWh
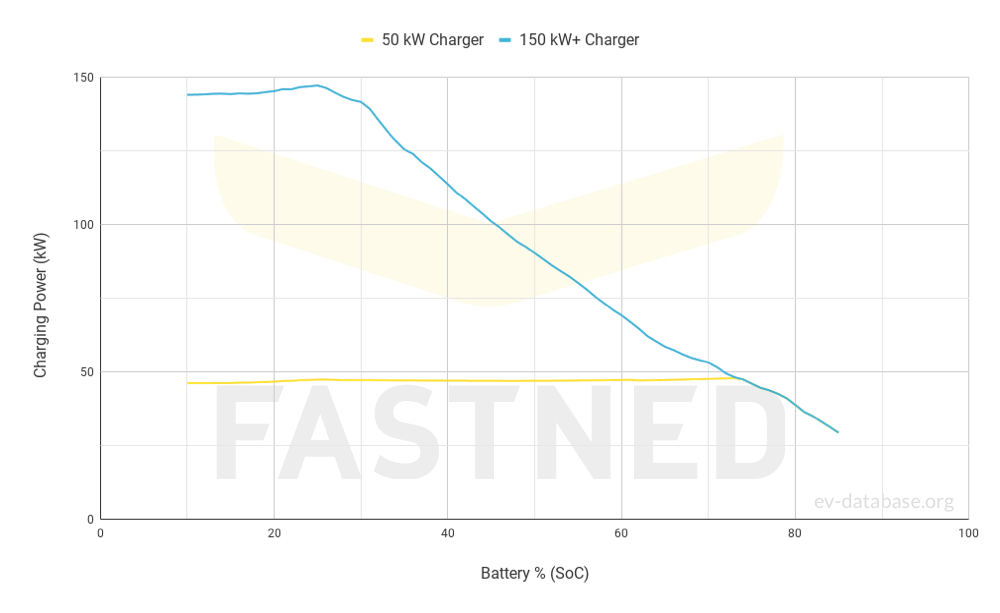
Driving Profile
- Start with a fully charged battery
- Drive until 10% battery charge is reached (leg 1)
- Fast charge: 15 minutes
- Drive until 10% battery charge is reached (leg 2)
Assumptions
- Speed, climate, and external conditions based on Real Range Highway
- No time required for starting and stopping the charging session
- The charger can always supply the charging power requested by the vehicle
- The battery is in optimal condition
In practice, it is impossible to exactly meet the driving profile and assumptions. The benchmark is therefore only suitable for comparing vehicles under standardized conditions.